Using Air Explorer with InfiniCLOUD
What is Air Explorer?

Air Explorer is a client software for Windows and macOS devices. Its interface design has high usability and you can transfer data on your device to InfiniCLOUD with detailed sync settings.
This document explains how to set up Air Explorer and connect with InfiniCLOUD.
* To turn on or off connections to InfiniCLOUD from applications, it is required to configure from My Page. More details can be found here.
Disclaimer
- We have confirmed the ability of Air Explorer to connect with InfiniCLOUD and transfer files, but this does not amount to a full guarantee of software's functionality.
- Synchronization of Jobs may delete or overwrite files on your device and InfiniCLOUD, so unintended deletion or overwriting of data may occur depending on the settings. Because of this, we don't recommend the two-way synchronization. Be sure to save a copy of your InfiniCLOUD data in a separate location before trying this application.
- If your Apps Password is reissued, it is necessary to reconfigure the password for the connected account.
- Please direct all inquiries regarding Air Explorer to the software vendor.
How to use
Connect to InfiniCLOUD

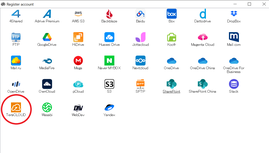
2. Register your InfiniCLOUD account
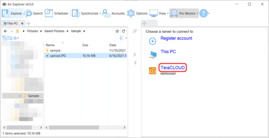
- Select TeraCLOUD.

- Enter your WebDAV connection information.
- Click OK
User IDs and Passwords are case sensitive.
| User | Enter your Connection ID. |
|---|---|
| Password | Enter your Apps Password.* If you forget your password, please reissue using these steps. |
Notes
It may take several minutes for external programs to accept newly issued app credentials. If an error notice appears shortly after reissuing your password, please wait a few minutes before attempting to reconnect.
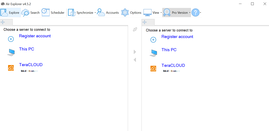
- Click your InfiniCLOUD account on the right pane to connect.
- To confirm your connect accounts, click the Account button on the top tab menu.
Tips
Each connected cloud has different available features depending on the cloud service. The features you can use in connected InfiniCLOUD accounts can be checked on the FAQ page of Air Explorer.
Copy files between local and InfiniCLOUD
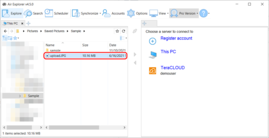
1. Select the copy source file.
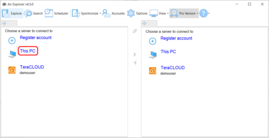
Open your local directory by clicking This PC.
*At this time, you can also select multiple items.
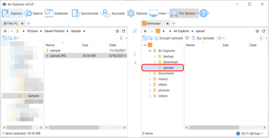
2. Set the copy destination.
Open your InfiniCLOUD on the other panel.
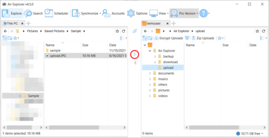
3. Click the arrow icon between the panels.
Select the arrow icon depending on the copy direction. (ex. When you copy the file on the left panel to the directory displayed on the right one, select the rightward arrow icon.)
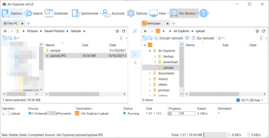
4. The copy process will begin.
The progress will be displayed on the lower side of the window.
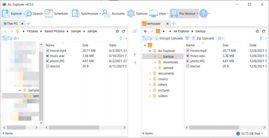
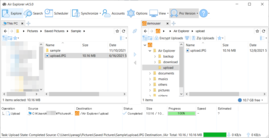
5. The copy completed.
The file will be copied to the specified directory on InfiniCLOUD.
Tips
- You can copy the data on InfiniCLOUD to a local directory in a similar way.
- Not only files but also folders can be copied.
- It supports the "Copy/Paste" tool in the right-click menu when selecting items, as well as drag and drop for copying.
- You can also paste the copied data on the cloud directly into the file manager of your device or on your desktop.
Backup your data
1. Select source
- Select This PC on the left.
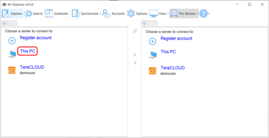
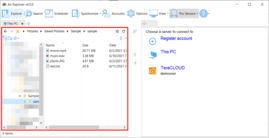
- Open the directory where the backup source data is stored.
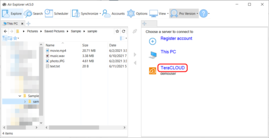
2. Select destination
- Click your InfiniCLOUD account on the right side.
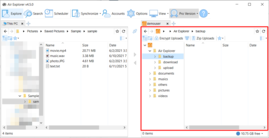
- Select the backup destination.
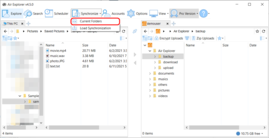
3. Open the "Synchronization" tab
- Click Current Folders
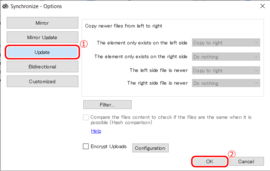
4. Select a synchronization method
- For backup, select Update and click OK.
We do not recommend using the bidirectional method because it may cause unintended deletion or overwriting of data.
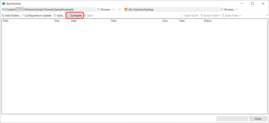
- Click Compare to load the selected file(s).
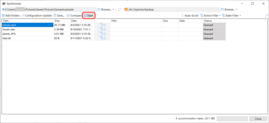
- Confirm the displayed file(s) are correct.
- Click Start
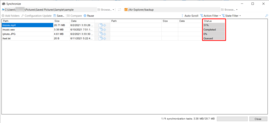
- The synchronization will begin.
- Progress can be viewed on the right side of the screen.
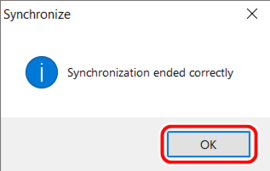
- A display message will appear, click OK.
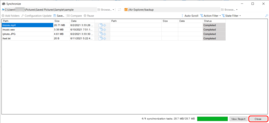
- Click Close on the "Synchronize Window"
- The local data will be backed up to the specified destination.
